Let’s be practical and think of the fact that there is no way you can simply print everything you see on your computer screen. There are always options to save the browser you are working on, images, content, and others as well, but then you might need to find out multiple ways to take Screenshots in Windows 11 to be able to save important info when needed.
So, after spending hours on our screen, we listed down around five such ways you can take screenshots on your system. You can simply choose any of these that might be most suitable considering the situation and simply go for it the next you have to save something.
Here are the 5 ways to take screenshot in Windows 11 laptops.
5 Ways to Take Screenshot In Windows 11
1. Use a Snipping Tool
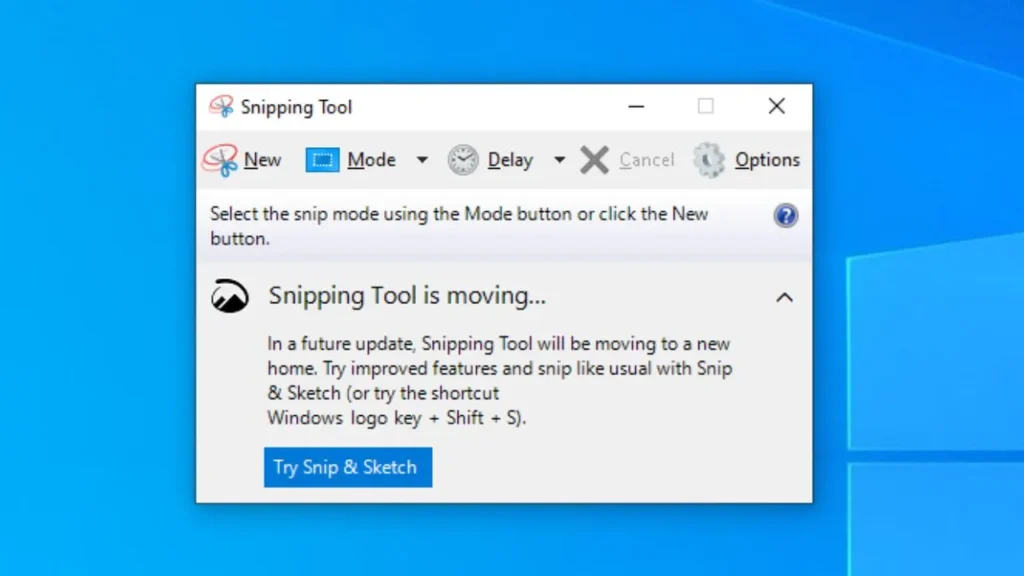
Well, we are not talking about third-party software here, rather you can simply access a Snipping Tool available for all users to take Screenshots in Windows 11.
Since we already have the snipping feature but with the Snipping Tool you can get multiple added benefits. Rather than saving the screenshot on the clipboard, it comes with an auto-save and auto-copy feature.
To access this, click on the Start button, enter Snipping Tool, select the tool and click on it.
- Tap on the New button to freeze the Windows or screen.
- Select a Mode from the options such as Free Form Snip, Rectangular Snip, Windows Snip, and Full-screen snip.
- Use the Delay option from the drop down menu to select the number of seconds after which the screenshot will be taken so that you can select a proper window on the screen meanwhile.
2. Use Print Screen (PrtScn) Button To Take Screenshot
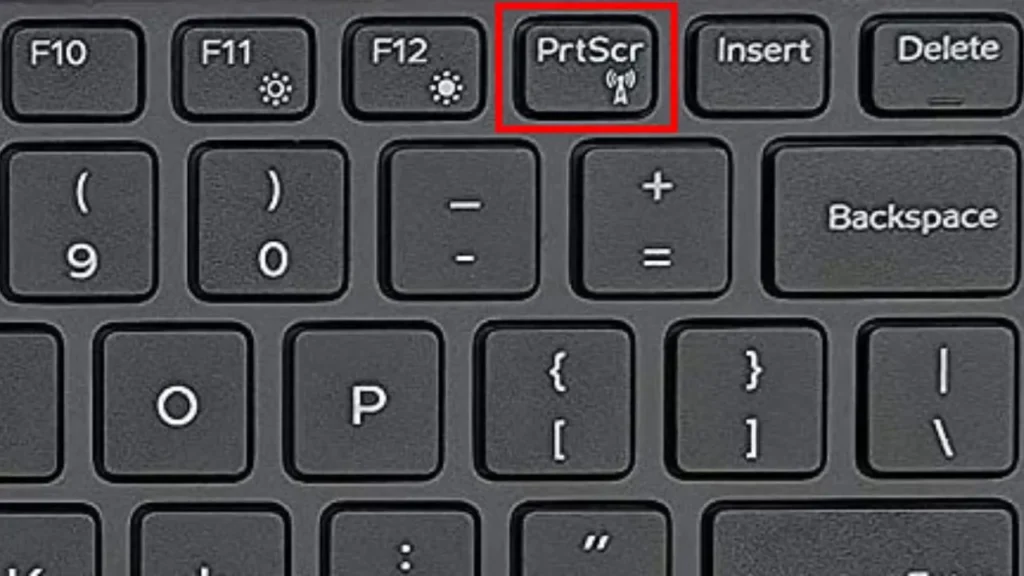
The first method to get started with is by using the Print Screen option available to everyone. It is super easy and simple to conduct and does not involve any complicated process whatsoever.
All you need to do is look for the Print Screen button on the keyboard often labeled as Prt Scr, Print Screen, or even Prnt Scr.
It is generally located on the top-right of the keyboard after the series of function keys. Once you tap on this key on your keyboard it takes a screenshot of your current Window and saves it on the clipboard. After that, you can paste the copied screenshot into the paint, MS Word, or any other apps. Now, you can choose to edit the images as you like.
Related Article: How to Check WiFi GHz on Android: A Step-by-Step Guide
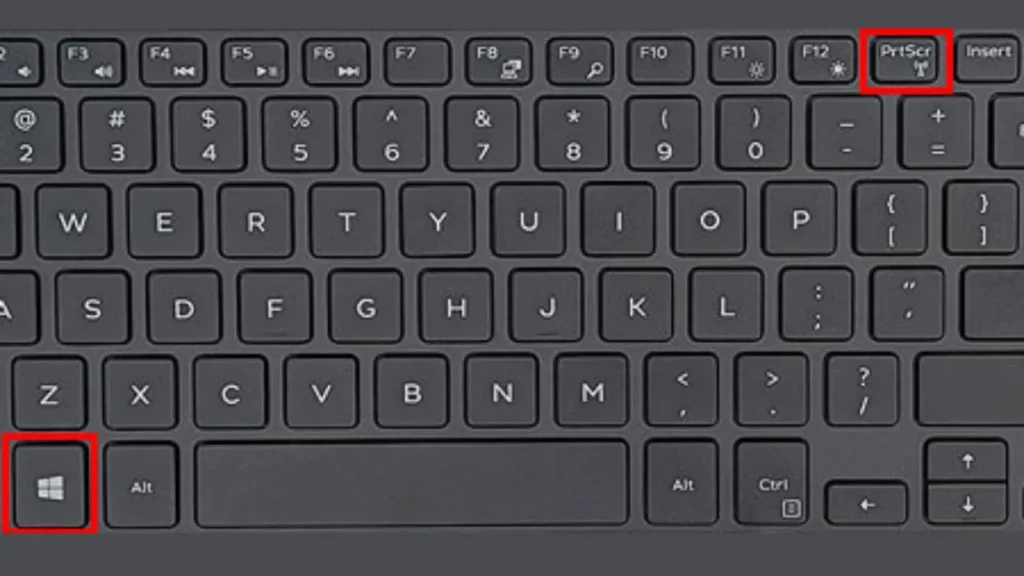
3. Use Print Screen + Windows Key To Take Screenshot As A File
Next up, we have another method that involves the use of Print Screen yet again. However, here we will be using a slightly different function along with it.
As you know using Print Screen key saves the screenshot on the clipboard and you need to paste it on the Paint tool to save it on your system.
To make things a little easier for everyone, you can instead use the Windows + PrintScreen/Prt Scr key together on the keyboard to capture the Window on the screen. The screenshot will then be directly saved on a folder named Screenshot on the system. It is easier to access and does not require any extra effort.
4. Use Alt + Print Screen To Capture Active or Current Screen
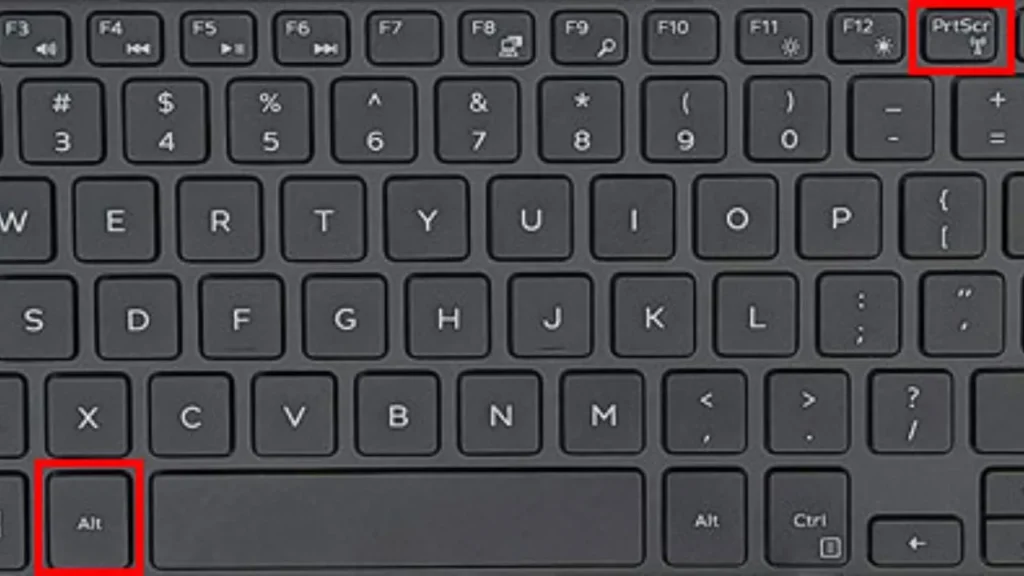
Another method you can try out here specifically to capture an active window and not the entire screen that you are currently using.
For example, if you have opened a particular settings window on the screen and only hope to capture that window, you can use this method.
Simply tap on the Window you want to capture to select it, now press Alt + Print Screen/Prt Scr on the keyboard. This will capture the screenshot you wish to have and it will get copied on the clipboard. In order to further save it, you can choose to paste the screenshot on any app such as Paint and then save it or edit it as required.
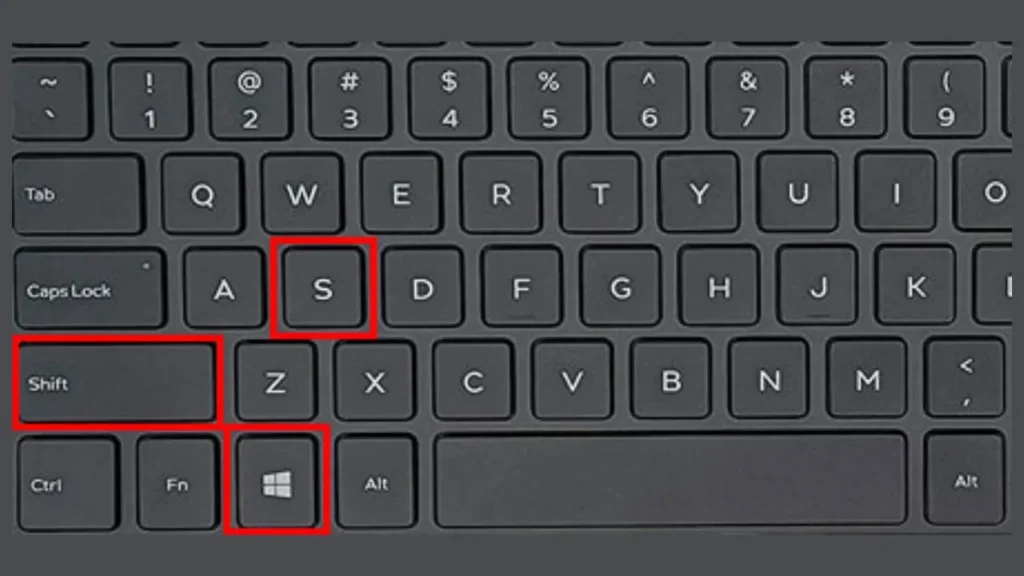
5. Use Windows + Shift + S To Capture Selected Area
By Snipping, we mean using a certain function that allows you to select a certain area or part of the Window and get a screenshot.
You can try out the Active Screen Capture as well but there are numerous times when you might only need a particular portion of the entire screen such as a text, image, or anything for that matter.
To continue with this function on Windows 11, you can choose the in-built features of the system with multiple options. Now, to get started, you firstly need to press Windows + Shift + S on the keyboard that will open up a small window on the top of the screen.
This Window has options to choose from such as Rectangular Snip (Rectangular Shaped), Free Form Snip (Any shape), Window Snip (Select a particular Window), Full-Screen Snip (Entire Screen).
All the above can be easily selected from the shortcut option provided to you on your screen. Simply tap on the option, select the part of the screen, and release the click. The screenshot will be taken. You can paste the image on any app to save it.
Other than this, once you capture the screenshot, your display will show a small snippet of the image on the bottom-right of the screen that you can click on to edit, save, or do anything with.
Final Verdict
Here we go with all you needed to know on multiple ways to take screenshots in Windows 11. All of them are pretty easy to implement and only require to use of certain keys on the keyboard. Once you go through these steps, you will learn gradually and will be able to apply these more frequently.